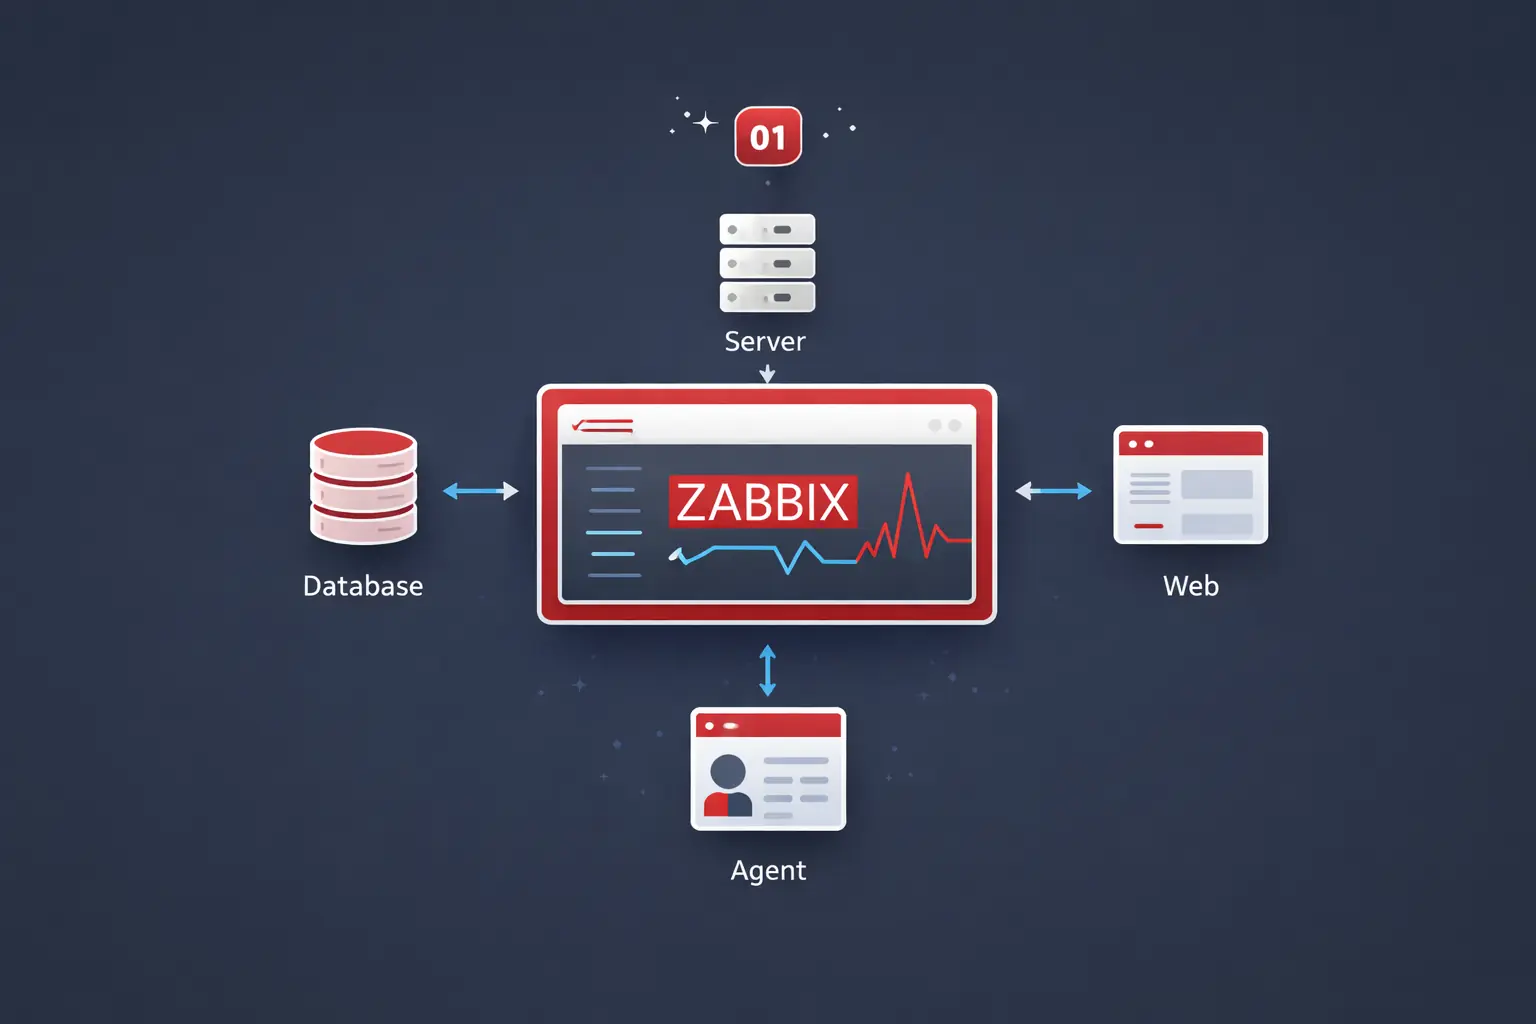
What a Proxy Buys You
A Zabbix proxy is one process that does two unglamorous jobs: it collects metrics from the agents nearby (a remote office, a DMZ, a different VPC) and it buffers those metrics on local disk if the link to the server pair goes down. Both jobs are invisible until the day you need them, at which point they are the difference between "we lost five minutes of telemetry" and "we lost the entire incident".
Three concrete cases the single-tier (server-talks-to-agent) topology fails:
- The WAN link drops. A branch office goes offline for ten minutes. Without a proxy, every alert from that site fires false positives the moment connectivity returns and the trapper queue floods. With a proxy, the agents kept reporting to the local proxy the whole time; once the link comes back, the proxy ships the buffered history to the server pair in order.
- You hit the server's NVPS ceiling. A single
zabbix_serverrealistically handles a few thousand new values per second before history-syncer back-pressure becomes the bottleneck. Spreading 30,000 hosts across five proxies, each shipping aggregated data upstream, takes the load off the server pair. - You have a security boundary. The Zabbix server lives in the management VPC. The hosts you want to monitor live in twelve customer VPCs. You do not want to open 10051 inbound to the management VPC from each customer; one proxy inside each customer VPC, talking outbound to the server pair, gives you the same data with one allow rule per environment.
The container version of the proxy is 33 MiB of RAM and a few MB of disk for the SQLite buffer. The bare-metal version is a couple hundred MB on disk and roughly the same memory. Either way, it is the cheapest insurance the monitoring tier can buy, and the rest of this post is the build.
Zabbix Proxy setup
As I mentioned on my previous post, I'll be covering how to install the zabbix proxy using the official Zabbix Alpine Image docker image and on the server itself, in our case Ubuntu 24.04
This guide assumes that you are capable of deploying an ubuntu server on your own. If not, please follow this guide before proceeding.
Docker
If you don't know how to install docker and docker compose, please follow this Guide before moving on. Alternatively, you can skip to Server Install
1. Create a new directory
Before we deploy the container, create a new directory that will store the compose file. On my docker server, I have a dedicated directory /opt/Docker/ for all services I deploy using docker-compose. I'm going to create a folder named ZabbixProxy:
mkdir /opt/Docker/ZabbixProxy
2. Create and configure a docker-compose.yaml file
Create a new file named docker-compose.yaml in the previously created folder.
vim docker-compose.yaml
Modify the compose file to reflect your environment!
Add the contents below
services:
  zabbix-proxy:
    image: zabbix/zabbix-proxy-sqlite3:alpine-latest
    ports:
      - "10051:10051"
    environment:
      - ZBX_SERVER_HOST=10.0.0.22;10.0.0.23
      - ZBX_HOSTNAME=ZbxProxy01
      - ZBX_PROXYMODE=0
    restart: unless-stopped
From within the folder run the docker-compose command to start the container
docker-compose up
If everything worked out correctly, you'll see the container output receiving the configuration from the server

If you get and error
Unable to connect to [10.0.0.22]:10051 [cannot connect to [[10.0.0.22]:10051]: connection error (POLLERR,POLLHUP)], you need to follow the step 1 below to add the proxy on the Web interface. Once that's done it should connect.
Now we can run the same command with -d so the container runs in the background
docker-compose up -d
Server Install
Make sure your servers have a static IP address. Below is the /etc/netplan/\*.yaml config I'm using
10.0.0.246: ZbxProxy0110.0.0.1: Gateway10.0.0.200: Internal DNS server
network:
  version: 2
  renderer: networkd
  ethernets:
    eth0:
      addresses:
        - 10.0.0.246/24
      routes:
        - to: default
          via: 10.0.0.1
      nameservers:
        addresses: [10.0.0.200]
        search: [ns01.rcfmartin.com]
1. Install Zabbix Repository
First we need to download the package using wget
wget https://repo.zabbix.com/zabbix/6.4/ubuntu/pool/main/z/zabbix-release/zabbix-release_6.4-1+ubuntu24.04_all.deb
Then we'll use dpkg to install the packages
sudo dpkg -i zabbix-release_6.4-1+ubuntu24.04_all.deb
Now we need to update the packages to make the tools we need available
sudo apt update -y
2. Install Zabbix Proxy SQLite
We'll be using a SQLite database for this example.
sudo apt install -y zabbix-proxy-sqlite3 zabbix-agent
3. Edit the config file
Now we need to edit the config file /etc/zabbix/zabbix_proxy.conf to point to the cluster.
Server: The ip address of both zabbix servers separated by a semi-colonHostname: The hostname of the proxy, in my caseZbxProxy01DBName: Name or path of our sqlite database, in my case/tmp/zxbproxy01.sqliteConfigFrequency: How often proxy retrieves configuration data from Zabbix Server in seconds. We'll set this parameter to100
vim /etc/zabbix/zabbix_proxy.conf
Update the items below
# make sure to include both servers separated by semicolon `;`
Server=10.0.0.21;10.0.0.22
Hostname=ZbxProxy01
DBName=/tmp/zbxproxy01.sqlite
ConfigFrequency=100
Now lets edit the agent config file, /etc/zabbix/zabbix_agentd.conf
Server=10.0.0.21,10.0.0.22
ServerActive=10.0.0.21;10.0.0.22
4. Enable and Start the service
First we'll enable to service so it restarts after a reboot
sudo systemctl enable zabbix-proxy
sudo systemctl enable zabbix-agent
Now we can restart the service
sudo systemctl restart zabbix-proxy
sudo systemctl restart zabbix-agent
Add Proxy to Zabbix Frontend
1. Configure Proxy
Go to Administration -> Proxies

Create a new proxy.
Proxy name: The name of your proxy, in my caseZbxProxy01Proxy Mode: In this caseActiveProxy Address: The ip of your server, in my case10.0.0.246

Now if you refres the page, you should see the active proxy

2. Configure Agent
Now that our proxy is up and running, let's add the agent. Go to Monitoring -> Hosts and create a new host.

Host Name: The name of your proxy, in my caseZbxProxy01Templates: We need the Proxy templateZabbix proxy healthHost groups: In my case I created a new groupZabbix ProxyInterfaces: SelectAgentAgent: The ip of your server, in my case10.0.0.246Connect to: Set toIPPort: Set port to10050Monitored by proxy: From the dropdown select the proxy itself, in my caseZbxProxy01

Done! The proxy should now be ready to receive connections
Repeat the steps above to deploy a new zabbix proxy
Active vs Passive, the One Decision That Matters
Two ProxyMode options exist; pick deliberately.
- Active (default in this build,
ProxyMode=0). The proxy initiates the TCP connection to the server. Fits the common case where the proxy lives behind NAT or in a VPC that allows outbound but blocks inbound. - Passive (
ProxyMode=1). The server initiates the connection to the proxy. Fits the case where the proxy is on a known IP in a DMZ and the server is somewhere it cannot reach outbound from (for compliance reasons).
Mismatched modes are the most common silent failure when bringing a new proxy online: server thinks it is talking to a passive proxy and waits for nothing; proxy thinks it is active and dials a server that is not listening for it. Symptoms: zero data, no logs. Always confirm both ends agree on ProxyMode.
Verify Before Adding Hosts
Three checks before you start re-pointing agents at the new proxy:
- Server sees the proxy. Administration → Proxies should show
ZbxProxy01with a non-Unknownlast-seen timestamp updating every minute. If it shows Unknown, the proxy has not registered with the server yet, check the proxy's logs forcannot connect to server. - Local SQLite is not full.
du -shagainst the proxy'sdata/directory should be small (a few MB). If it is growing into the GB range, the proxy is buffering and not flushing, which means the link to the server is intermittently broken even though the proxy itself is healthy. - Test failover impact. Stop one of the upstream
zabbix_serverinstances. The proxy should automatically failover to the standby (it learns about both servers from the configuration sync). If alerts on hosts behind the proxy go silent during the failover, the proxy is misconfigured to only talk to the previously-active server.
Next in the Series
The agent post is the last build step: install the Zabbix agent on the hosts you actually want to monitor and point them at the proxy you just built. With the agents reporting up through the proxy, through the active server, into the database, and back out via the frontend, the four-tier topology from the overview is complete. Then the operational topics (alert quieting, templates as code, proxy load balancing) become tractable.